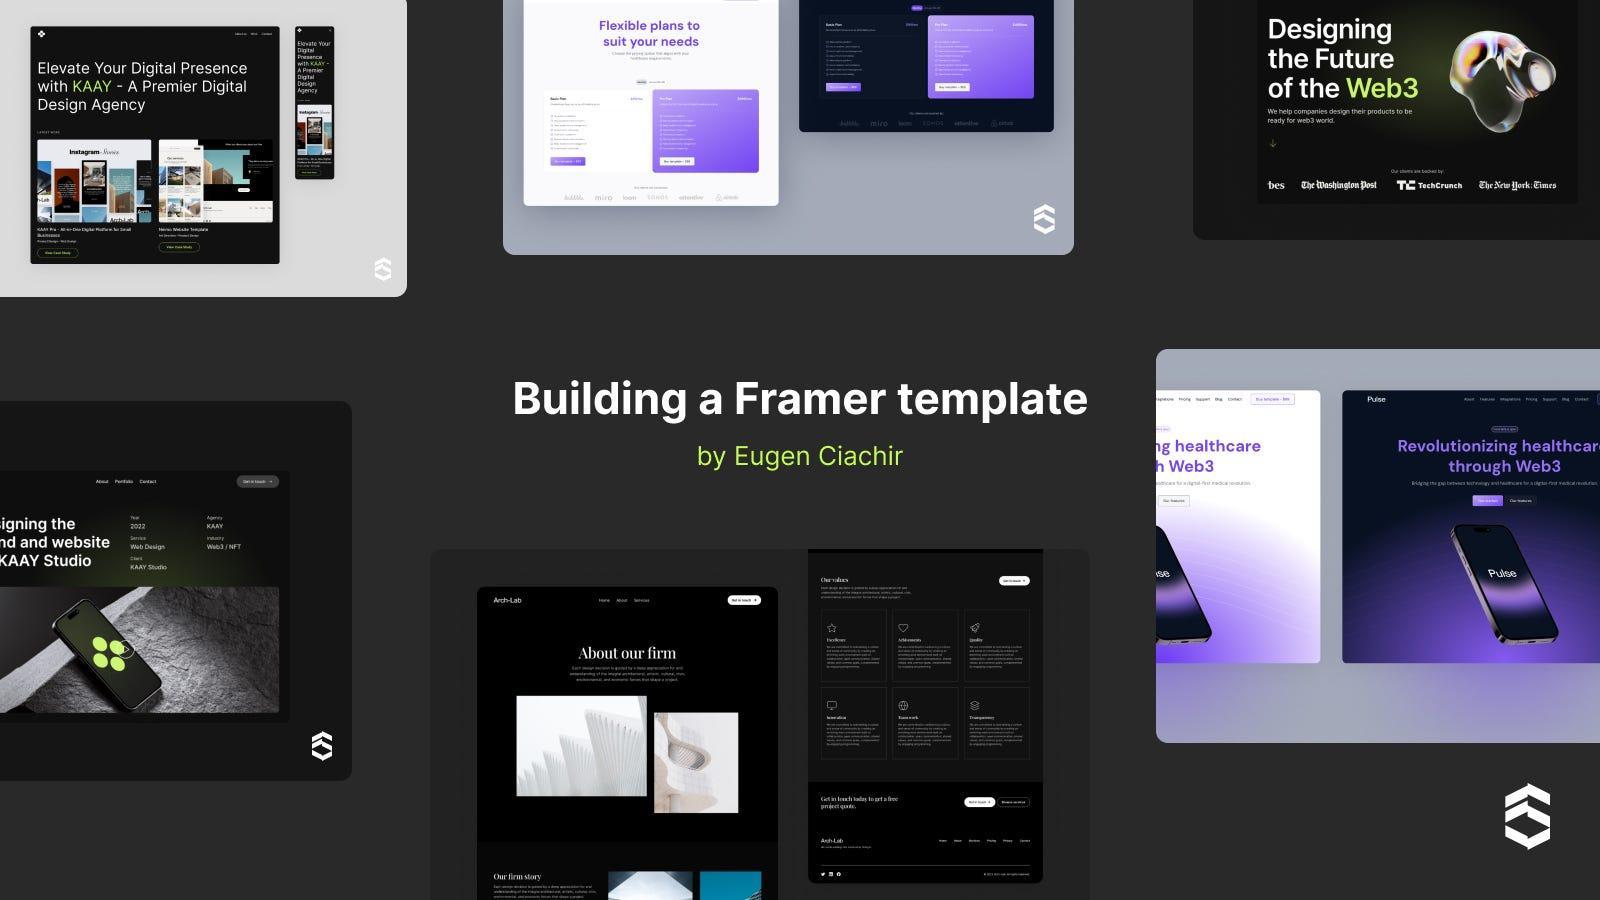
Introduction
Framer changed the way I approach no-code development. The sheer speed and user-friendliness completely transformed how I go about building websites.
Now, after spending half a year immersed in Framer, I’m excited to share what I’ve learned. This guide will delve into the nitty-gritty of my process, providing you with practical advice, valuable insights, and innovative techniques to create a top-notch Framer template.
Looking to get started with Framer? Click here and get the first 3 months for free when purchasing Framer Pro.
Let’s dive right in!
1. Plan with an industry in mind
Before you jump into crafting your Framer template, make sure to plan with a clear focus on a specific industry. Here’s how to begin:
- Market research: Look into popular template types like Framer, Webflow, Squarespace, and WordPress templates. Check out different platforms to spot trends and demands.
- Discover new territory: Find an industry or niche that existing templates haven’t covered extensively. Aim to offer a unique solution that fills a gap in the market. Bonus Tip: Use Google Trends to measure keyword popularity and potential traffic for your chosen industry.
- Gather ideas: Start collecting inspiration, links, websites, and designs that align with your vision. Keep things organized in a dedicated space like an Apple Note or your preferred notes app.

2. Treat the template like a client project
Approaching your template creation as if it were a genuine client project boosts its quality and worth. Focus on the following:
- Create scenarios for a fictional brand: Develop your template to tackle specific obstacles faced by a made-up brand. Understand the challenges your intended users face and customize the template to serve them effectively.
- Pinpoint users and their needs: Research potential users who could benefit from your template. Explore online communities or forums where designers and developers discuss their experiences and hurdles.
- Address real challenges: Design your template to provide solutions for actual design and development issues. Emphasize improving efficiency and productivity for your target users.
By approaching your template with an industry-oriented mindset and treating it like a genuine client project, you’re laying the foundation for a meaningful and impactful Framer template that caters to your audience’s requirements.
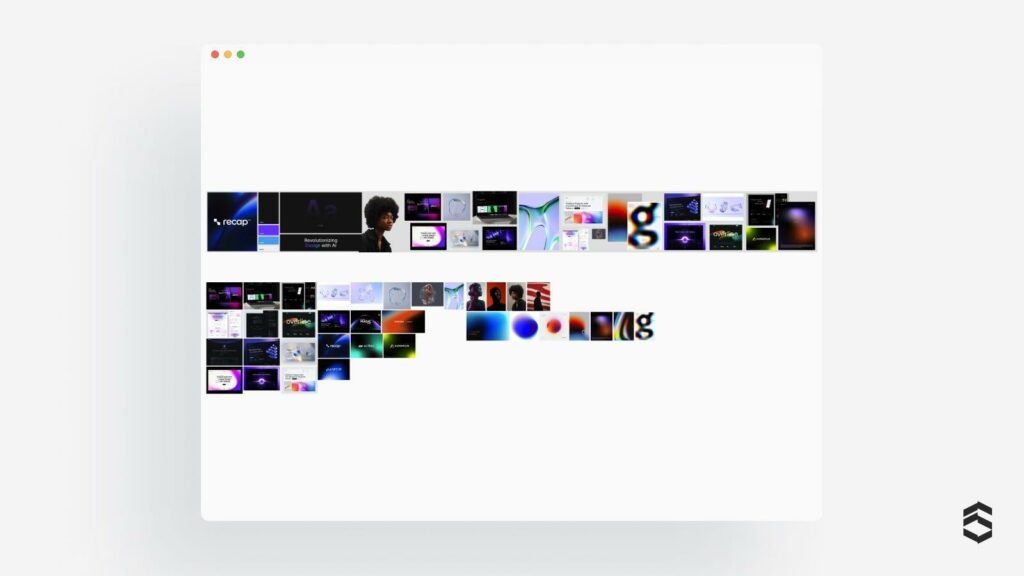
3. Moodboarding
Crafting a mood board is a crucial step in shaping your Framer template’s design. Think of it as a collection of inspiring gems that fuel your creativity and help you make design decisions. Let’s break down how to create an effective mood board:
- Explore diverse projects: Cast a wide net and explore various design projects, not just web design. Collect links, screenshots, and websites that catch your eye.
- Use Figjam for inspiration: Make use of Figma’s Figjam to create your personal digital inspiration board. Organize your ideas by styles, colors, or any other categories that align with your template’s vision.
Don’t box yourself in: Include anything that sparks your creativity, whether it’s illustrations, animations, logos, or even tangible items. Your mood board is a canvas for endless creative exploration.
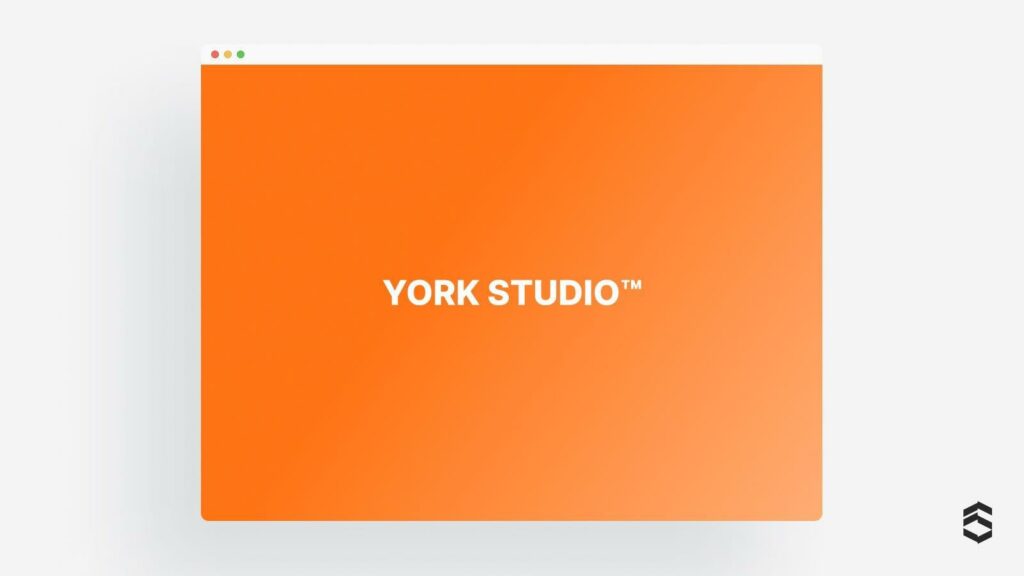
4. Pick a name
Selecting the right name for your Framer template is a crucial step in shaping its identity and making it stand out. How to find the perfect name:
- Research: Look into existing Framer templates and products to ensure your chosen name is unique and hasn’t been used before.
- Check domain availability: Use Google Domains or Namecheap to check if the domain name is available, in case you want to secure a matching website domain.
- Avoid common names: Opt for a name that isn’t already popular or widely recognized to give your template its own unique identity.
By creating a thoughtful mood board and picking an appropriate name, you’re laying the groundwork for an exceptional Framer template that embodies your creative vision and captures your target audience’s attention.
5. Designing the brand
Moving forward in constructing your Framer template, the next step is crafting an alluring brand identity.
- Start simple: Begin with basic design elements and iterate swiftly. This adaptable approach lets you explore various versions and settle on the finest one as you progress.
- Design the brand logo: Play around with different logo options — symbols, wordmarks, or combinations. Seek a logo that harmonizes with your template’s vision and resonates with your intended audience.
- Set the color palette: Keep your color scheme uncomplicated and invigorating. Avoid overwhelming designs with excessive colors. Leverage tools like Figma’s Foundation: Color Generator plugin for swift creation of shades and palettes.
Choose the right typeface: Pick an appropriate typeface for your template. While a single font for all elements is common, you’re not confined to it. Ensure the chosen typeface is part of the Google Fonts library, meeting Framer website requirements.
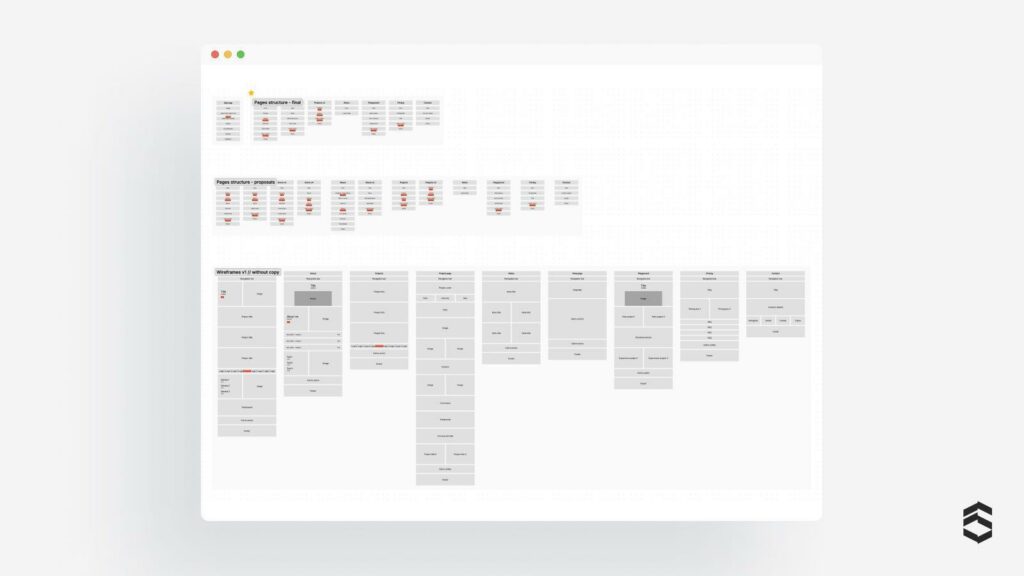
6. Define your site structure and features
Establishing a clear site structure and defining essential features are crucial for ensuring your Framer template’s usability and functionality.
- Keep it simple: Sketch the site structure straightforward. Begin by outlining the necessary pages. Decide if you need CMS collections or various versions of pages, sections, or components.
- Basic wireframes: Create basic wireframes for all pages to visualize the layout and flow. These drafts don’t need to be detailed — they’re meant for quick planning.
Comments and integrations: In Figma, add notes to your wireframes. Mention custom components, integrations, and other elements you’ll use directly in Framer. Consider essential fields if you’re including CMS collections. This helps bridge your design and functionality.
7. Figma time
Embarking on your Framer template design journey starts within Figma, and here’s why it’s a compelling choice:
- Familiarity: Many solopreneurs, small agencies, and designers are already acquainted with Figma. By beginning in Figma, you offer extra value by providing Figma files alongside your Framer template.
- Centralize elements: Bring together brand elements, mood board inspirations, and wireframes in Figma. Organize them for a streamlined design process.
- Drafting phase: Start crafting the initial draft using placeholder content like lorem ipsum and temporary images. This stage bridges the gap between wireframes and the final design. Play with fonts, colors, layouts, and content alignment to refine your design.
- Mobile-friendly: Consider mobile responsiveness during design, ensuring your template works smoothly on different devices. A seamless experience across screens enhances usability.
- Animation exploration: Experiment with animations to infuse interactivity into your Framer template. Explore how elements should animate for an engaging user experience.

8. Use ChatGPT and MidJourney to generate custom content
For a distinct and engaging template, steer clear of clichéd stock photos and generic text. Instead, harness the power of ChatGPT and MidJourney to craft personalized content:
- Tailored ChatGPT prompts: Create specific prompts for ChatGPT to generate meaningful content. Mastering prompt usage enhances your skills for future projects. Example ChatGPT prompt: “Imagine you’re a senior copywriter in [industry]. Your agency is building a new brand for [brand name] specializing in [industry] + [mvp]. The site map includes [list all pages]. Write the main headline (H1), subheadline, and call-to-action for the home page hero section. Continue for the entire website.”
- Custom brand assets with MidJourney: Use MidJourney to create brand assets tailored to your template’s vision. Select images from your mood board and craft backgrounds, icons, or unique elements.
- Generate and refine: Create your first MidJourney assets and refine them until they meet your standards. Save a good example by noting the seed number and the corresponding image.
- Blend and experiment: Blend an original source image (from your mood board or creations) with the generated example. Experiment with different combinations until you achieve your desired outcome.
- Polish and perfect: Enhance final images and edit them in tools like Photoshop. Create polished assets that enhance the visual allure of your Framer template.
9. Polish your designs
As you approach the final stages of your Framer template, it’s time to focus on refining your designs to achieve perfection.
- Integrate personalized content: Infuse the custom copy and brand assets created using ChatGPT and MidJourney into your design. This tailored content will elevate the overall aesthetic of your template.
- Mind the details: Examine each design element meticulously to ensure no detail goes unnoticed. Check for alignment, consistency, and overall cohesiveness across the template.
- Compile components list: Prepare a comprehensive list of components that will be implemented in Framer. Think about different themes, variations, and states to offer users a versatile and dynamic template.
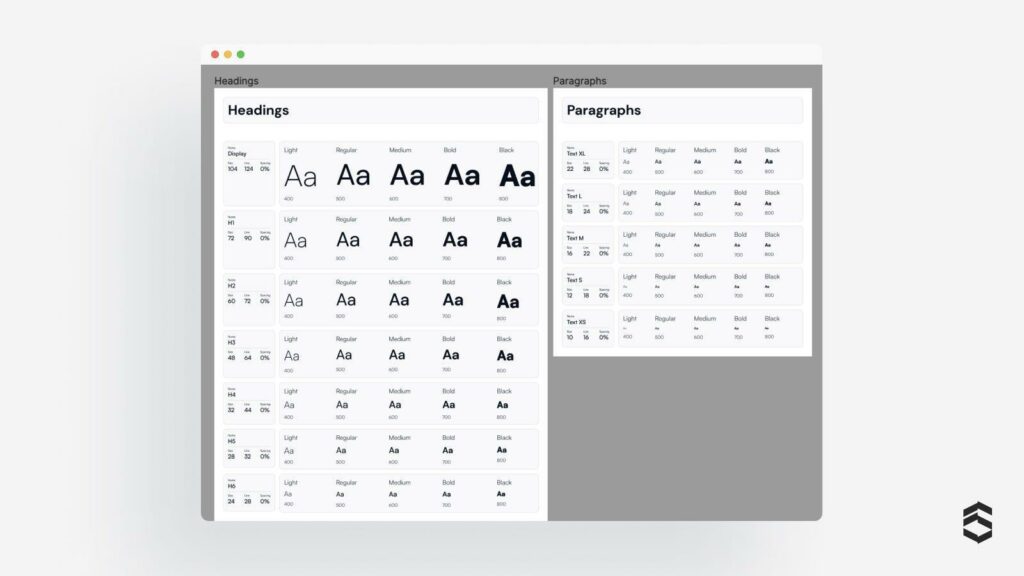
10. Set the basis for the design system
To streamline your Framer template’s design and maintain consistency, it’s crucial to build a strong design system:
- Simplicity and scalability: Create a straightforward and easily expandable system that can adapt to future updates and additions.
- Typography, colors, shadows, and blurs: Establish consistent rules for typography, color palettes, shadows, and blurs to ensure a harmonious visual presentation.
- Margin, containers, and breakpoints: Define guidelines for margins and containers to uphold a unified layout. Set breakpoints for responsive design to ensure seamless usability on various devices.
- Personalized icons: While Framer offers built-in elements like email inputs and icons, you can also integrate custom icons into the design system for a more unique touch.
- Theme harmony: Decide if your theme should dynamically update based on the system’s theme colors. Skillfully combine light and dark shades for a pleasing experience in both modes.
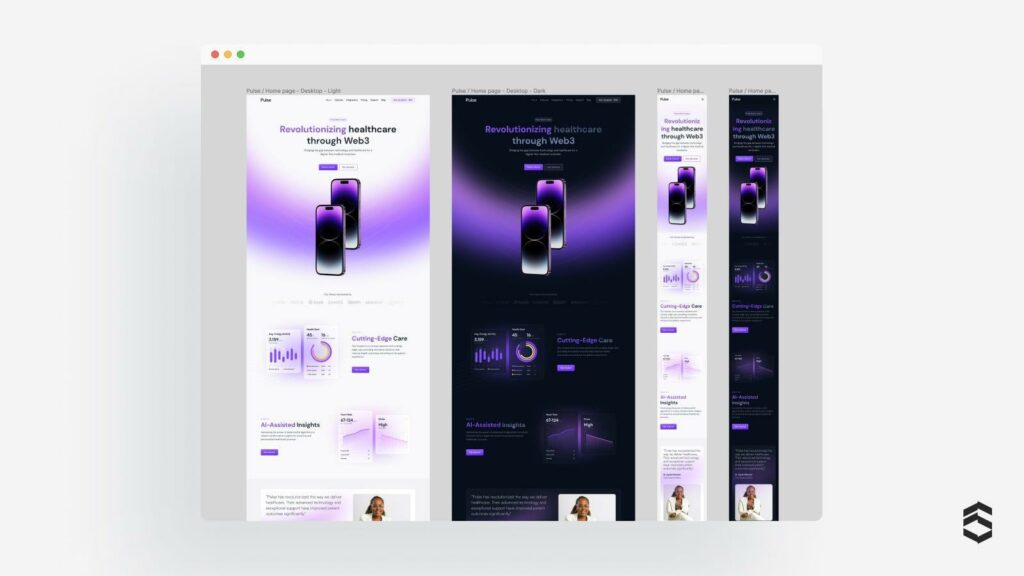
11. Start moving your pages to Framer
Now that your designs are refined and you’ve established a robust design system, it’s time to bring your Framer template to life by migrating your work from Figma. Here’s how:
- Transfer the design system: Begin by migrating your design system, including colors, typography styles, and button components, to Framer. Make sure all elements align with your established rules for consistency.
- Set up the structure and breakpoints: Once the design system is in Framer, create the necessary sections, containers, and breakpoints. Customize these settings to match the project’s design and needs.
- Copy and paste sections: Copy and paste your sections from Figma to Framer, one by one. Focus on transferring the layout; styles can come later.
- Update colors and text: After pasting, update colors and text styles to match your design system. This step ensures uniformity across all pages.
- Construct essential components: Build key components like navigation bars, footers, testimonials, and features. These reusable elements streamline the template-building process and maintain consistency.
- Duplicate polished page: Make a copy of the first polished page you finished in Framer. This page will serve as a model for the rest of the template.
- Consistently build other pages: Utilize the sections from the polished page to consistently construct the other pages. This approach guarantees a uniform level of polish and design quality throughout your entire Framer template.
12. Polish your template
To ensure a smooth and visually captivating experience for users, it’s essential to fine-tune your Framer template before its official launch:
- Optimize images in .webp format: Ensure that all images in your template are optimized in the .webp format. This improves loading speed and overall performance.
- Enhance accessibility with metadata and alt tags: Include relevant metadata and alt tags for images. This boosts accessibility and enhances search engine optimization (SEO).
- Perfect animations, hover effects, and pressed states: Refine animations, hover effects, and pressed states. These interactive elements add depth and engagement to your template.
13. Write the documentation
Creating clear and comprehensive documentation is vital for users to grasp and fully utilize your Framer template:
- Elaborate on key components: Offer in-depth explanations for vital template components. Describe their roles, applications, and available customization choices.
- Define guidelines and limitations: Establish guidelines, limitations, and best practices in your documentation. This helps users comprehend the template’s parameters and boundaries.
One of the best documentations I saw, is made by Matteo Tiscia for framepad.co
14. Test on different devices & browsers
Thoroughly testing your Framer template across various devices and browsers guarantees a seamless and consistent experience for all users. Follow these testing guidelines:
- Cross-browser compatibility: Test your template on different browsers such as Safari, Chrome, Firefox, and Edge. This helps you spot any inconsistencies and ensures a consistent look and feel.
- Device responsiveness: Ensure your template appears and functions correctly on diverse devices like desktops, laptops, tablets, and phones. If you can’t test on all devices, prioritize your desktop/laptop and at least one phone.
- Detecting discrepancies: Be vigilant for variations between devices and browsers. Swiftly address any issues by making necessary updates or fixes to ensure optimal performance.
15. Design the promo
Creating a captivating promo can greatly influence your Framer template’s success. Here’s how to craft an enticing and visually appealing promotional campaign:
- Design a striking cover: Craft an attention-grabbing cover that captures your template’s essence. It’s the first impression, so make it captivating and representative of your unique design.
- Craft a social thumbnail: Design an intriguing social thumbnail based on the cover. This thumbnail entices users to click when shared on social media.
- Prepare the product shots: Create shots highlighting your template’s best features. These visuals will be used for promotion on platforms like Framer template library, LemonSqueezy store, Dribbble, Behance, Twitter, LinkedIn, Layers.to, etc.
- Showcase the template: Record a screen demonstration of your template in action. Capture key animations and sections to highlight its capabilities.
- Edit a promo video: Use video editing software to create an engaging promo video. Feature captivating animations and sections to make the video visually appealing.
- Craft the template description: Write an informative and compelling description for your template. Clearly communicate its purpose, benefits, and unique qualities.
- List features and keywords: Include a concise list of features and relevant keywords to quickly convey what your template offers.
- Create promotional emails: Develop an email sequence for promotion. Offer discounts to past customers to encourage referrals and early sales.
16. Send your template to Framer
After meticulously refining your Framer template, it’s time to showcase your hard work and creativity to the world.
- Check the requirements: Before submitting, ensure you meet all the requirements set by Framer for template submissions. This includes adhering to their guidelines, specifications, and quality standards.
- Polish every detail: Take the time to thoroughly review and polish your template. Pay attention to even the smallest details to ensure a flawless presentation.
- Embrace feedback: If your template is rejected or needs improvement, don’t get discouraged. Use the feedback to make necessary updates and enhancements. Often, minor adjustments can make a significant difference.
- Celebrate acceptance: If your template is accepted, congratulations! This is a great achievement and an opportunity to showcase your skills to a wider audience.
- Reapply if needed: If your template is not accepted initially, don’t be disheartened. Take the feedback into account, work on improvements, and reapply in the future.
17. Launch
Launching your Framer template is an exciting moment. To make the most of it, consider maximizing your product’s reach by sharing it on multiple marketplaces. This expands your visibility and potential audience, increasing the chances of a successful launch.
- Publish on SuperbThemes: Consider launching your new template on SuperbThemes Framer marketplace to reach a broader audience and increase sales potential.
- Promote on various platforms: Share the news of your template launch on social media platforms such as Twitter, LinkedIn, Dribbble, Behance, and Creative Market. Additionally, explore other platforms like Product Hunt, Layers.to, Instagram, Facebook, specific subreddits, UI8, Themeforest, and Craftwork for additional visibility.
- Notify subscribers: Send a promotional email to your subscriber list, offering a special discount for a limited time to encourage early sales.
- Twitter promo code: Create a promo code for Twitter users that expires within 48–72 hours. This urgency can drive more immediate conversions.
- Utilize different discount codes: Generate different discount codes in LemonSqueezy and share them with different audiences to test various marketing approaches.
18. Post launch
After the launch, your efforts to promote and engage with users should not stop. Continue building momentum with these post-launch activities:
- Stay active on social media: Keep posting updates about your template on Twitter and LinkedIn to maintain visibility and engagement.
- Create tutorials: Share tutorials on how to use your Framer template effectively. This not only helps users but also showcases the versatility of your template.
- Post shorts on social media: Share short videos or animations using your template on platforms like Instagram and YouTube to captivate potential customers and showcase the template’s capabilities.
By diligently executing these post-launch strategies, you can sustain interest in your Framer template and attract a growing user base, cementing your position as a reputable Framer template creator.
In conclusion:
Embrace experimentation, and tailor each step to suit your unique style and preferences. As you start working on your next Framer template, consider this process as a guide that can be adapted and evolved to match your vision and goals.
Framer Pro — 3 Free months
Get 3 FREE months on your yearly Framer Pro plan by using this code: partner25proyearly

Leave a Reply