INTRODUCTION
When talking about components, most people usually think about designing an element once and then reusing it throughout the website.
Take a button, for example. You design it once and then place it multiple times on your website. But what if you want a different color? Or you want to link to a different page? Or maybe you want to change the copy?
Do you have to create another very similar component, or is there a better way? You guessed it – Framer offers a smarter way to approach the problem!
In this tutorial, I’ll show you step-by-step how you can use variables to create a reusable component- in our example, a button.
If you’re brand new to Framer, do not worry; this tutorial is completely beginner-friendly.
Let’s get started!
1. DESIGN THE COMPONENT
The first step is to design the button and make it a component. For the sake of simplicity, I’ve already created a simple button with a hover animation.
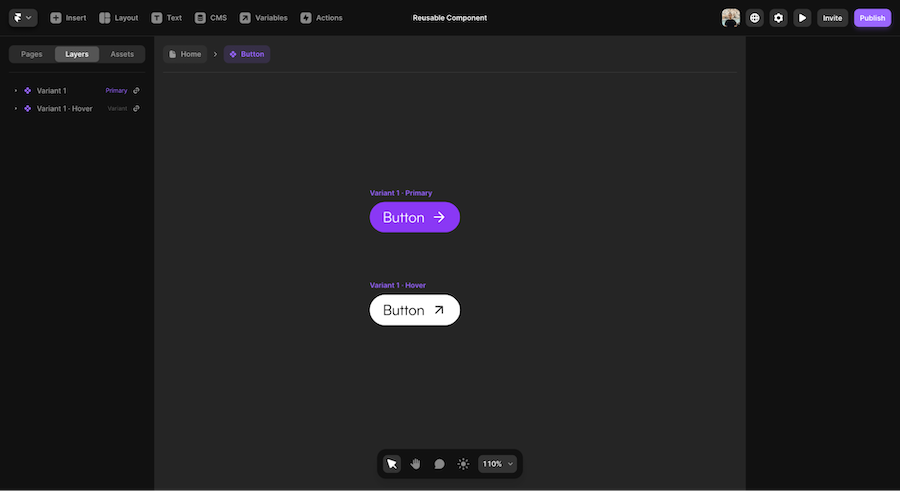
Right now, the component works as expected. You can place it wherever you want, and as soon as you make an edit, every instance of that component will reflect that.
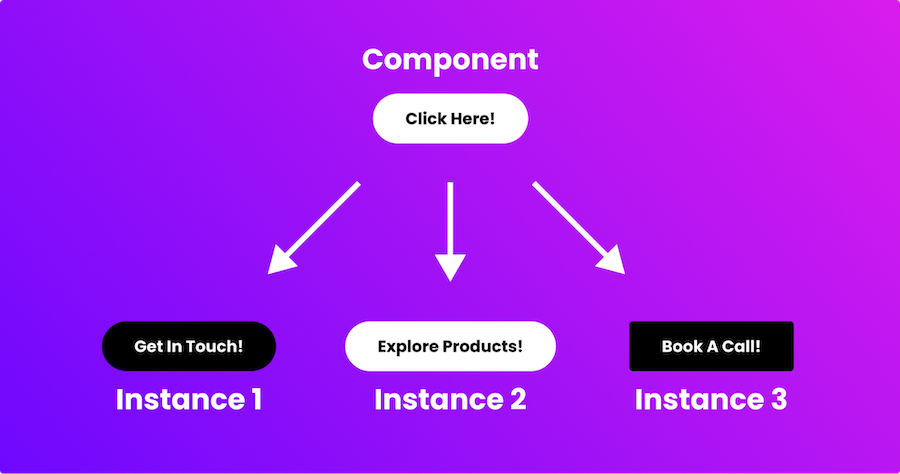
But what if I want to have a version that says “Download for free” and one that says “Get in touch” and redirect users to different links? This is where variables come into play.
2. ADD VARIABLES
Variables are like settings that customize a specific instance of the component, not all instances. In our case, the design of the button will stay the same, but we want different instances to have different text and links.
Every time you create a variable for a component, you’ll have to follow these two simple steps:
- Creating the variable.
- Assigning the variable.
Let’s quickly go over each of them.
2.1 CREATING THE VARIABLE
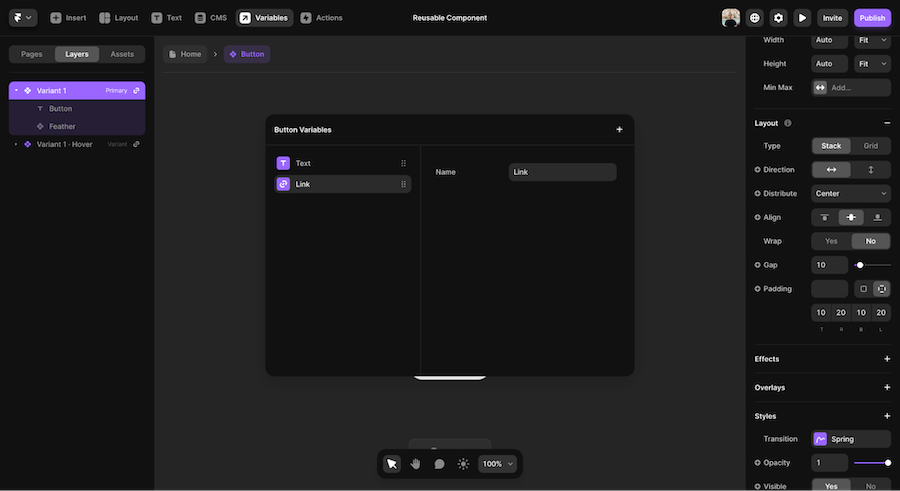
The first step is to create the variable. To do that, click on the “variables” button in the top bar and then on the small “+” button.
You’ll see a bunch of different options. For our example, we need to create a variable for the copy of the button and a variable for the link where we want to redirect the users when they click.
So, let’s create a “plain text” field and a “link” one.
2.2 ASSIGNING THE VARIABLE
Now that we have our variables, we want to tell Framer why we’ve created them.
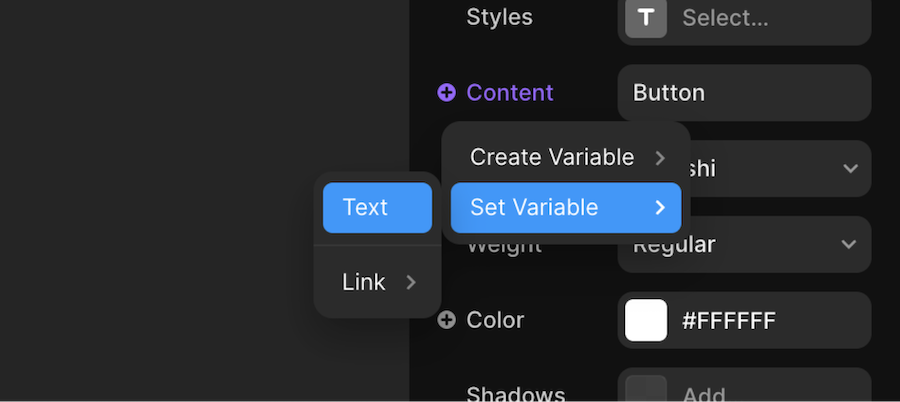
If you look at the right sidebar, you’ll notice that most fields have a small “+” button beside them. That button allows you to assign a variable to that field.
In our example, we’ll first select the text, and then, in the right sidebar, we’ll click on “content” > “set variable” > “text”. Then, we’ll repeat this process with the whole button to assign the link.
3. CREATE INSTANCES OF THE COMPONENT
Now our reusable component is ready to be used. Let’s create two instances of it. If you’ve done everything right, the two buttons should look exactly the same.
If you now select one of the two buttons, you’ll see that at the bottom of the right sidebar there’s a “component” section that allows you to assign a value to the two variables you’ve previously created.
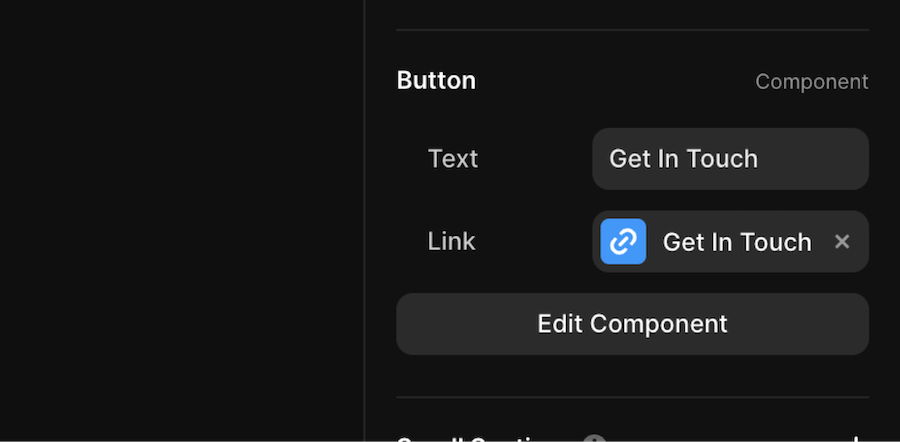
And voilà! You now have a reusable component that can be customized with whatever text/link you want!
CONCLUSION
Component variables are a powerful feature in Framer as they allow you to make small customizations on single instances of a component.
If you got lost at any point in the making of this project, here’s a free remix link to copy the finished project in your Framer workspace.
WRITTEN BY
Luca Da Corte is a freelance Framer Expert and SEO specialist. When he’s not working on some exciting projects, he curates a blog where he shares insights, resources, and experiences on everything regarding websites.
Leave a Reply